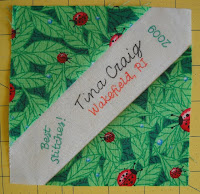
This signature block is super easy, fast and just the right size.
At 4.5" finished, these blocks can be combined with 5" charm squares in a final layout.
I'm working on a super secret project for an online group I belong to,
and I thought a tutorial could be helpful to other groups.
At 4.5" finished, these blocks can be combined with 5" charm squares in a final layout.
I'm working on a super secret project for an online group I belong to,
and I thought a tutorial could be helpful to other groups.
Step 1:
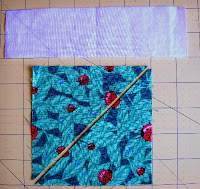
You'll need a 4.5" square
and a 2" X 7.25" rectangle.
Cut the 4.5" square in half
on the diagonal.
Step 2:
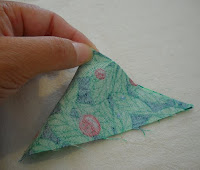
Fold each piece in half and pinch at the center.
Step 3:
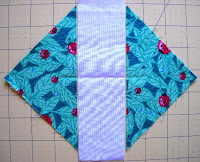
Align the centers.
Step 4:
Sew one triangle to the strip,
right sides together,
using a 1/4" seam.
(I used pins so I wouldn't stretch the bias edge.)
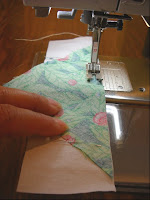
Step 5:
Press the triangle
away from the strip.
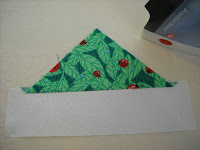
Step 6:
Add the other triangle
and press.
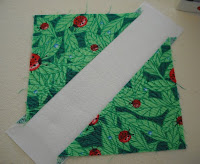
Step 7:
Square up 2 sides of the block.
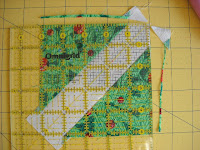
Step 8:
Trim the block to 5" square.
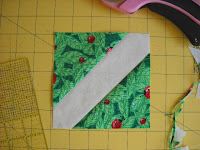
You signature block is done.
Well, you still need to sign it!
Here's how I did mine.
I make quilt labels this way, too.
Step 1:
Using a word processing or drawing program,
(I use Powerpoint)
type and print out the text.
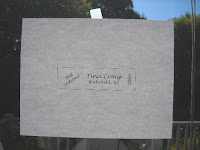
Step 2:
Tape the printout to a bright window
(or use a lightbox)
and tape your block on top
so the text shows through.
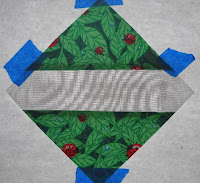
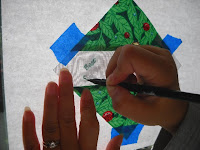
Step 3:
Trace the text or pictures
with a fabric marker.
Heat set the ink if necessary.
Step 4:
Done!
See that frayed edge on the left?
That's from pulling off the tape.
You might want to do the writing
before you trim the block to size.

You are welcome to use this tutorial for your next group project,
but please give credit or link directly to this post. Thank you!
Enjoy!

No comments:
Post a Comment