Showing posts with label fabric box. Show all posts

Wednesday, November 4, 2015

Bits and Pieces

As I was pulling photos for today, I realized I hadn't shown you my mini challenge from the Ninigret Quilters show. We were provided with a fat eighth of the brown print with polka dots. Since I had taken a class with Vanessa Christenson, I was eager to play with her ombre fabrics. I used Karen Kay Buckley's Perfect Circles to prepare the applique. After a few days of hand work, I went to town with some tiny machine quilting. I used up a full bobbin of 50 wt Aurifil on this 12" square! I added the yellow ric rac under the binding since that was the only color from the print that hadn't been used yet. 


Now on to the random projects...
I'm putting together an English Paper Piecing kit for a friend who had surgery last week. When She's ready for visitors, I'll give her the kit and a lesson.
 

When I was browsing for EPP stuff, I stumbled upon this hexagon starburst block on Stitchery Dickory Dock.  I couldn't resist giving it a try and I absolutely loved the first one (on left). I do not need another EPP project with two others waiting to be finished, but I can't help myself!


I printed and cut enough paper pieces for 22 blocks. They are all laid out on the piano bench until I dig out my tiny baggies. I'm not planning ahead with fabrics. I'll pull scraps for one block at a time and we'll see what happens!


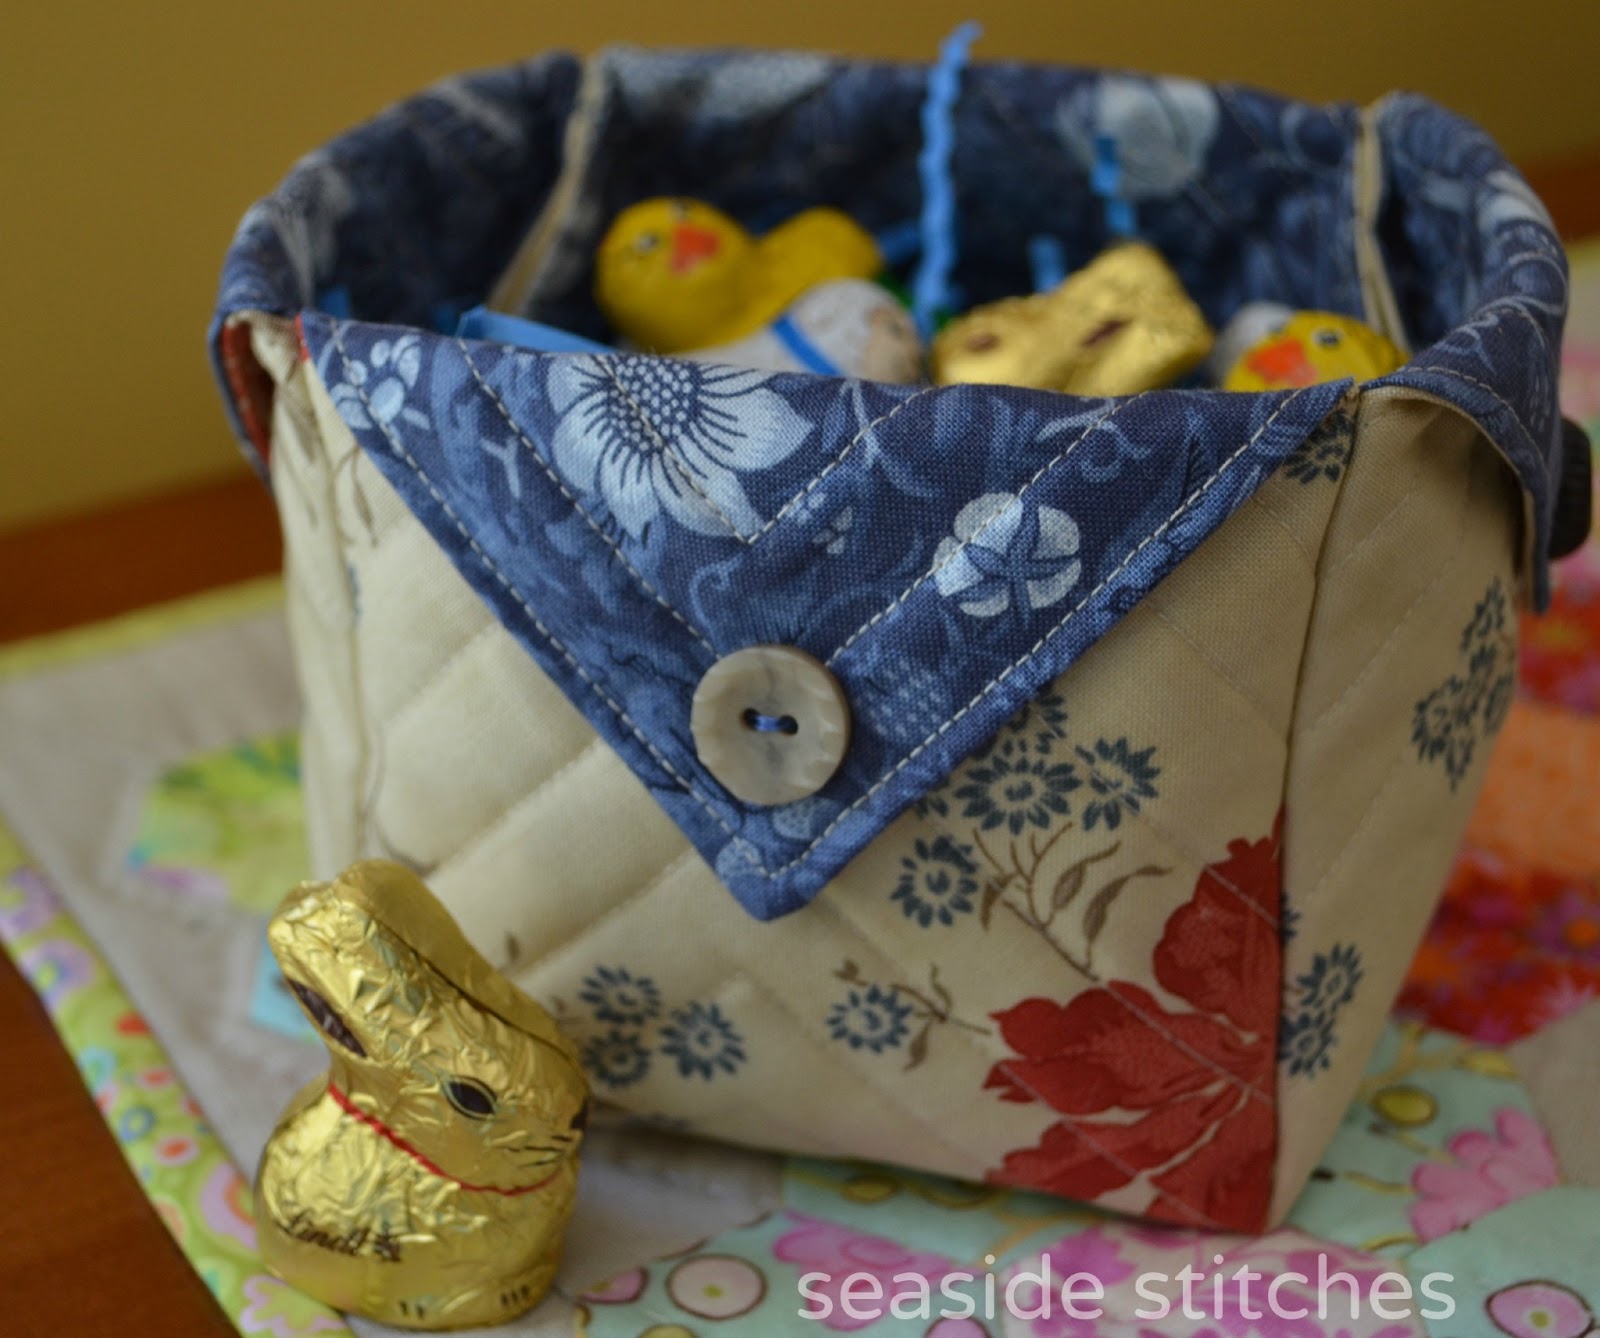
Last weekend I taught a fabric box class for my co-workers and/or their families. It's a small office, but it's a very crafty group! We had a fun morning and everyone did a great job with their boxes.


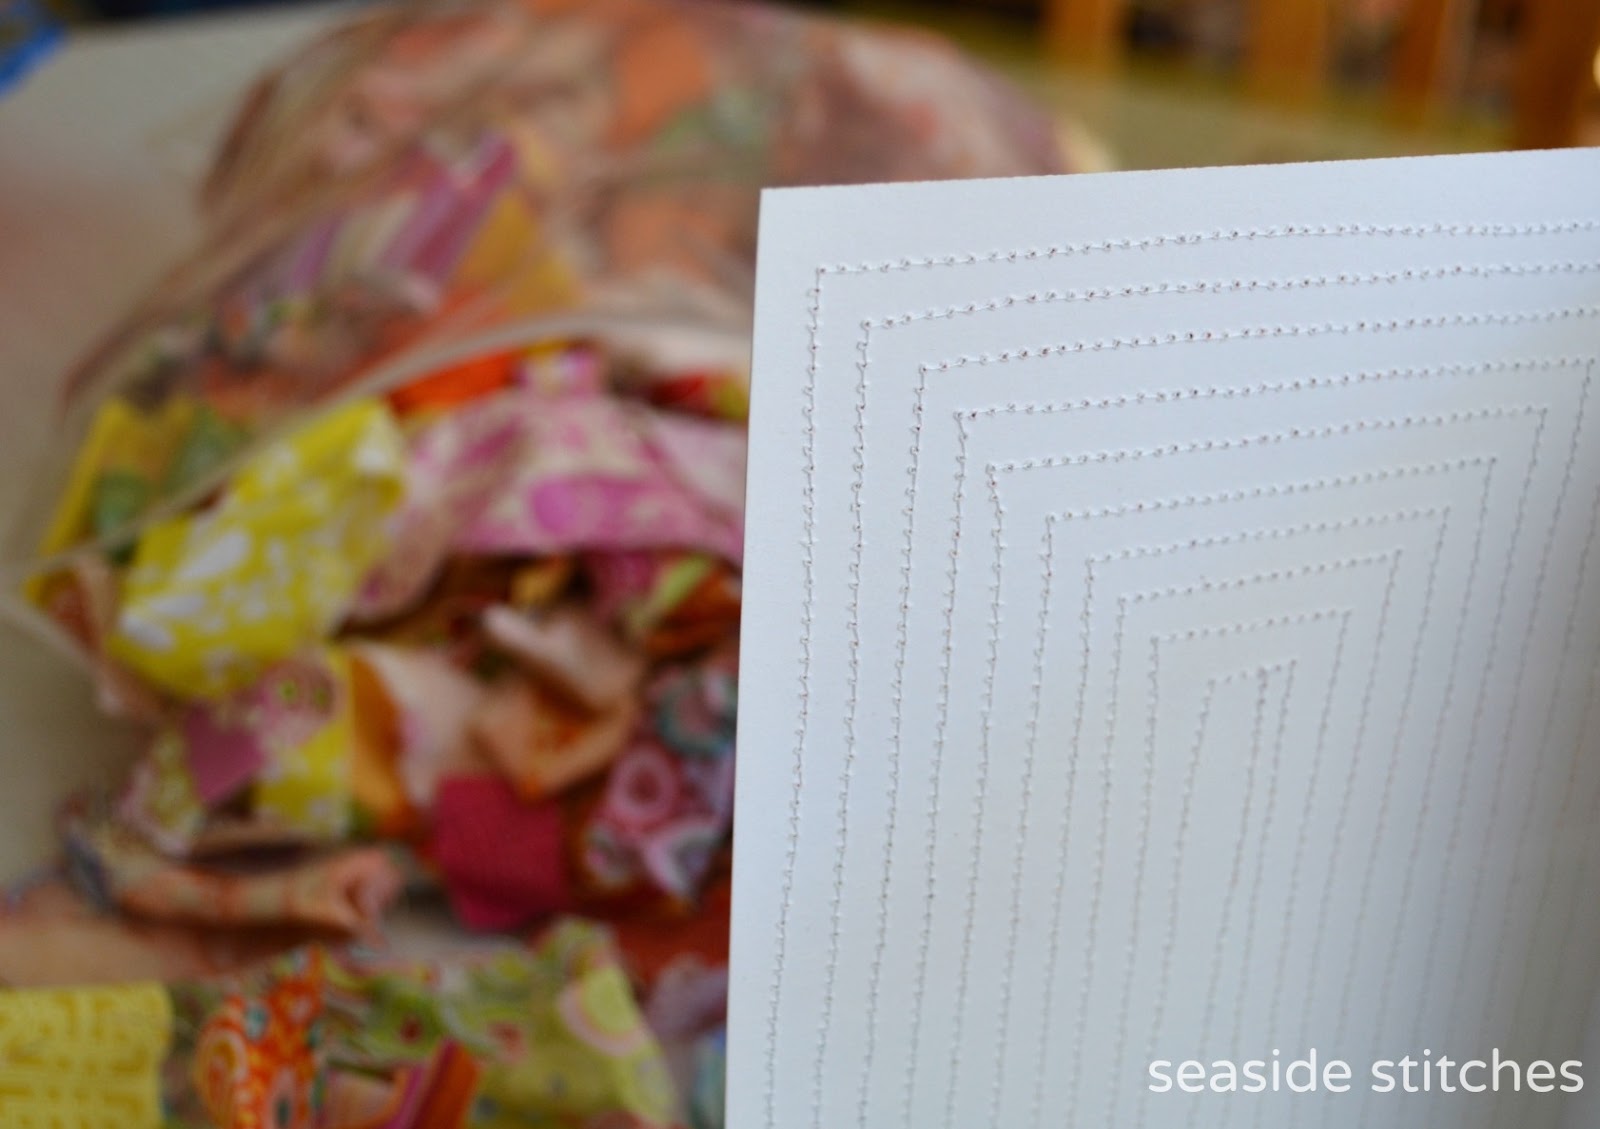
This ticker tape birthday card was really fun to make! With crazy mom quilts celebrating her 9th Blogversary, Ticker Tape was fresh in my mind. I tacked down the pieces with glue stick and then stitched around in a square spiral.


Why do scrap projects make such a big mess?! Here you can see the stitches on the inside. I kind of like the wonky lines and texture of the perforations. Now I just need to write a message and sign the card.


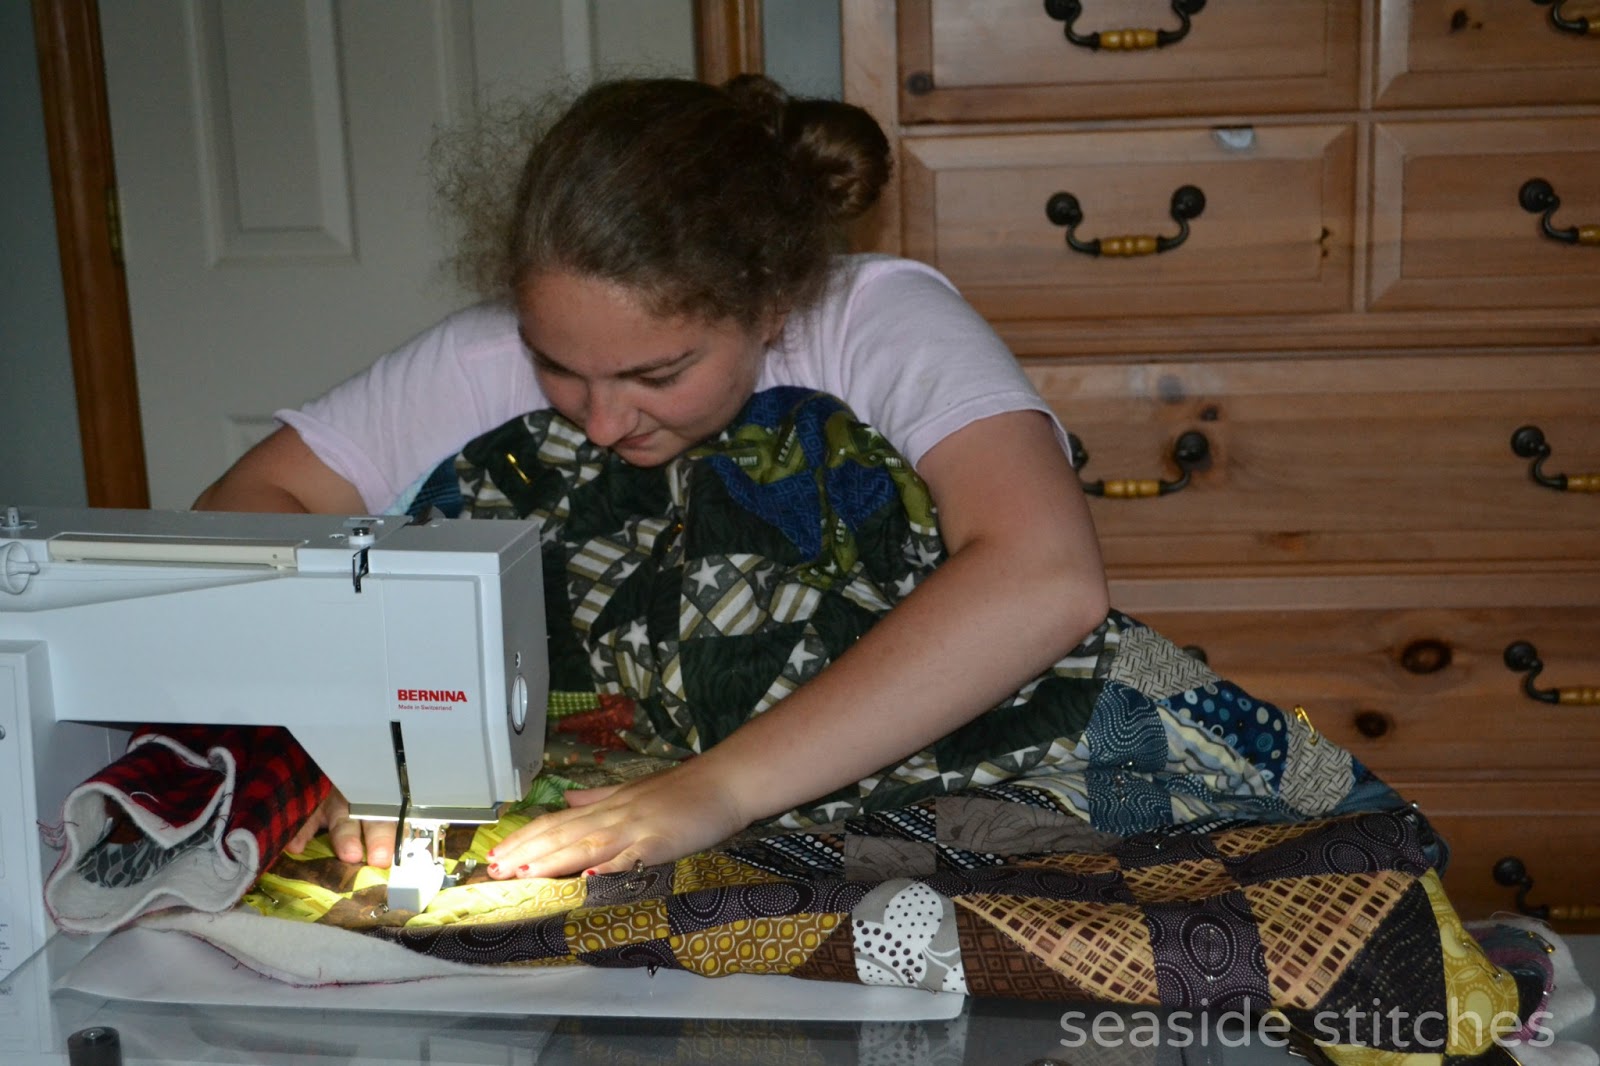
I've been teaching private lessons to my friend's mom, Sandy. She is making her first quilt from her granddaughter's t-shirts. Yesterday, we laid out all the blocks and she learned how to piece the rows. It was a fun puzzle to put together, and I think we were successful in distributing the colors and sizes.
 

Last one. I quilted an outreach quilt from Ninigret that will be delivered on the 14th. Now I have 6 labels to make and attach before then. I'll print them on my ink jet printer, so it will be a quick job.
 

I need to stop playing with fabric for a few hours and get busy on some computer work. My procrastination became this blog post!

Wednesday, June 10, 2015

WIP Wednesday

 I only have a few minutes, so I'll quickly report on three finishes this week.

These fabric boxes will be filled with graduation gifts for my friend's daughter and her friends. If you haven't tried making one yet, check out my tutorial here.


I stitched the label onto the graduation quilt today. Here's a peek at the back. Full reveal after it has been gifted.

And the liturgical stole is done, too. This design was actually plan B. More pics soon.


All deadlines have been met, so I can start sewing for fun soon. That's not to say that these projects weren't fun, but you know what I mean.

http://www.freshlypieced.com/

Sunday, April 13, 2014

Not Cool

 It was brought to my attention that someone is selling a pattern on Craftsy that very closely resembles my fabric box tutorial. The pattern is being sold for $6. I am not affiliated with the seller in any way.

http://seaside-stitches.blogspot.com/2013/03/fabric-box-tutorial.html

 Even if she has made significant improvements to the instructions, her finished product looks just like mine. It might be perfectly legal for her to rewrite a pattern and sell it, but it's not cool.

http://seaside-stitches.blogspot.com/2013/03/fabric-box-tutorial.html

I have allowed people to use the tutorial at guild workshops and quilting retreats. And if you want to make fabric boxes to sell at boutiques or craft fairs, that's fine with me.

http://seaside-stitches.blogspot.com/2013/03/fabric-box-tutorial.html

But selling a pattern that is available for free is just not cool. I know this kind of thing happens all the time. Thank you to my eagle-eyed anonymous commenter for letting me know about this. 

I don't want to provide a link to the pattern, but if you'd like to compare for yourself, search Craftsy for Treasure Box. I have sent a notice to Craftsy and will let you know when I receive a response.
 
http://seaside-stitches.blogspot.com/2013/03/fabric-box-tutorial.html

If you'd like to see the variety of boxes being made from my FREE tutorial, please visit my Pinterest board. Thank you, quilty friends!

Wednesday, December 4, 2013

Craft Show Progress

 I hope you all had a wonderful Thanksgiving with family and friends. We were so happy to meet my newest grand-niece, Mollie. She is the cutest little peanut!

I've been very focused on craft show sewing and it feels great to get things done. I made two baby quilts this week. This is a simple patchwork made from a stack of fat quarters of Lizzy House "Outfoxed." I cut 6" squares and the top went together super fast. 
 

The backing is a DSQuilts print from Joann's and the purple binding was in my stash.  Big loopy swirls is my go-to quick quilting design. This quilt finished at about 39" square before washing. I expect some shrinkage and fun crinkling.


I had fun playing with these Dr. Seuss prints that I've had for a while.
 

Straight line quilting on this one with a great print on the back and a striped binding from the same collection. This one is about 38" x 46". This fabric was pre-washed, so it shouldn't shrink much.


I made a pile of fabric boxes. (see my tutorial here) I'm stitching on the buttons at night while I watch TV. There are 8 or 9 more to finish up. It's a great little catch-all for a desk, sewing table or nightstand.


Guitar straps made from one shabby chick's tutorial. They are so much fun to make! If anyone has a use for 2" black nylon webbing, please let me know.  Amber also has a camera strap tutorial that would go great with my tote bag that isn't finished yet.
 

Pete is doing great in boot camp. He enters the Crucible tomorrow morning: the 54 hour final test before he becomes a Marine. I could just burst from the mix of emotions right now! Fortunately, I can head back to my sewing machine to calm my nerves.


Have a great week!

Tuesday, July 23, 2013

Sew Every Day 20-22

 There was a lot of sewing going on this weekend, just not by me. Julia finished the quilt she's been making for her boyfriend, Fred. I'll post all about it on Wednesday as soon as I get a picture of them together.

Day 20: Quilting day.  Julia was having trouble wrangling the quilt, so I sat in for a few minutes to show her how to lift the weight off the bed. I can't convince her that the machine quilting gloves actually help. She was quilting straight lines with the walking foot, so she was OK without them.


Day 21: Binding day. Again, I sat in for a few minutes to get her started, but Julia wanted to do the job herself. She was happy to learn how to complete the binding by machine. She was afraid she'd be hand stitching the binding in the car on the way to South Carolina. This morning, she is on the way to Fred's graduation from Army boot camp.
 

Day 22: While Julia was preparing the quilt label, I made a fabric box. (My tutorial here!) Julia is traveling with Fred's family, and they will be spending a night at his aunt's house. This will be a hostess gift for her. I think it looks pretty cute filled with salt water taffy and wrapped in cellophane.


While Julia was busy quilting, I was removing this wallpaper border in Pete's room. It was cute when he was 7, but not as appropriate for a soon-to-be Marine. While he is away at Boy Scout camp this week, I'm hoping to get his room painted. And work on his quilt.
 

Stayed tuned for the boyfriend quilt reveal, coming soon!

Thursday, March 28, 2013

Fabric Box Tutorial

 I hope you enjoy this little fabric box tutorial as much as I do. It is simple enough to complete in about an hour, which makes it perfect for a last minute hostess gift. Fill it with candy and you are ready to go! 


A friend gave me the pattern* a couple of years ago, but after I made the first sample, I lost the pattern! Luckily, I remembered what to do, and wrote up my own instructions. There was no indication of who had designed it, so if you know whose pattern this is, please do let me know. I haven't seen anything else like it online.

*The original was a one page, hand drawn pattern that looked like it had been photocopied a number of times. I interpreted the pattern in a completely different way from my friend.

Let's get started!

You will need:

 (2) squares of fabric, between 8" and 12". My sample was made with 10" squares. 

A piece of batting the same size as the fabric (or a little bigger).

(4) coordinating buttons, optional.

A walking foot, if you have one.


Step 1: Layer the fabric, right sides together, on top of the batting.

Step 2:  Stitch 1/4" seam around perimeter, leaving an opening of about 4" on one side.


Step 3: Trim away the batting from the seam allowances to reduce bulk. Trim as close to the stitching line as you can without clipping into it!


Step 4: Turn right side out and press.

Step 5: Top stitch close to the edge, closing the opening as you go.

Step 6: Quilt as desired. I just kept going around and stitched concentric squares...

... until my bobbin ran out!


Step 7: Fold the quilted square in half, right side in. Mark a 2" triangle in the corners.
(If you started with a different size square, you may want to alter this dimension.)

Stitch the 2 bottom corners, back-tacking at the beginning and end. Since I had used a Frixion pen for marking, I just needed to hit it with an iron to erase the line!

Step 8: Open it up and fold it in the other direction, marking and stitching the remaining 2 corners.


Step 9: Turn the box right side out.

 Step 10: I like mine with the points folded down...

 ... and the inside flaps tacked down.

If you would like to eliminate the inside flaps, try Connie's modification with French Seams!

Step 11: Stitch on some cute buttons, if desired.
(I bought these buttons at Walmart. I think I need to go back and get more in every color!)

Starting with 10" squares, the boxes finish at about 4" x 4" x 3" high.

My original sample was made with Meadowsweet leftovers. I still love that collection so much!


And this is the one I made last weekend for Barbara. This one started with a 12" square, so I made the sides a little higher (2.5" corners in step 7).

Have fun with the tutorial and let me know if you make one!

Edit 4/13/14: I am not affiliated in any way with the pattern being sold on Craftsy for $6.

Edit 5/22/14 for clarification: The pattern I was given did not include any authorship information, or I would have given credit from the start. There were just a few hand drawn diagrams and cryptic text open for interpretation. It was not a copy of the pattern being sold on Craftsy. I wish there was a name on the original drawing, but there was not. I struggled with offering it online, but I felt my finished product was more detailed and my instructions were much clearer. I added the quilting and the buttons that were not included in the original.

The pattern on Craftsy was not offered until after I had posted my free tutorial. I believe the designer used the ideas that I had fleshed out. If she used her own photos and text, there is no copyright infringement. I haven't purchased it, so I don't know that to be true. She claims there are design differences, but her sample in the Craftsy listing looks just like mine. It is even quilted the same way. I don't believe she is the designer of the pattern I was given many years ago.

Because the basis for this fabric box was not my original idea, I struggled with offering the tutorial at all. I did not feel it was right to profit from it by selling the pattern. Again, I wish the person who drew the original diagrams by hand had signed her work.

It is in the spirit of sharing that I offer this free tutorial. They look great filled with candy or a small potted plant. You may use it as a guild or sewing bee project. You may make them to sell for charity fundraisers. If you make them to sell for personal gain, please drop me an email.

Visit my Pinterst board to see how other sewists are interpreting this project.

Monday, March 25, 2013

Fabric Box, Eggs and Snow

 I got back to my normal family schedule this weekend, so there was not much sewing going on. I picked up Julia on Friday for her spring break. Yay! A whole week with my girl!

We were invited to her boyfriend's house to decorate eggs with his mom. We couldn't go empty-handed, so I made her this fabric box and filled it with candy. Julia picked out fabric that Barbara would like. (I promise to get the tutorial done this week!)


 We each made one Ukrainian egg using Barbara's pysanky supplies.


I'm sure you can guess which one is mine and which is Julia's!

Why is it still snowing?

Have a beautiful Holy Week!