Showing posts with label red and white. Show all posts

Friday, July 22, 2016

Trivets for Susan

 Some time last Fall (November, maybe?), a friend called to ask if I could make some trivets for her that would be cuter than the ones she had been seeing in stores. "Of course," I said. "When do you want them?" "Whenever you have time," she said. Big mistake, Susan! Now she knows that I need a firm deadline, even if it is arbitrary!


 Susan follows me on Instagram.* Every time I saw that she had clicked "like" on one of my quilty photos or left a sweet comment, I felt guilty for not working on her trivets. A few months ago, I pulled all the reds and cream/tans from my stash and set them aside. I thought that was a good start. About a month ago, I was surprised to see my stash was seriously lacking in reds and low volumes. Haha!
 

When I cleaned out my quilty storage area to move some furniture around, I found the stack and quickly got to work. I used different block designs and different fabric combinations for each trivet to make the project more fun and interesting for me. That Dutchman's Puzzle might be my all-time favorite block.
 

She had asked for a modern country look. The smaller trivets are 8-9" and the larger ones are about 11".  There is a layer of Insul-brite and a layer of cotton batting. They are pretty thick, so I kept the quilting simple with just a few straight lines.


I get excited when I actually remember to sew my labels into the binding! (It's the little things, people.) The binding is done all on the machine for durability. I rinsed each one separately several times to remove most of the excess red dye. Then I threw them all in the washer with a color catcher and then into the dryer. I wanted to make sure they wouldn't run or fall apart on her, and they washed beautifully.
 

If there is a moral to this story, it is to always give Tina a deadline!
Percolation time: 8 months
Working time: 10 hours over 3 days

*If you ever wonder what I'm up to between blog posts, visit me on Instagram. I post there pretty regularly. For example, you can see what I worked on in a machine quilting class yesterday with Angela Walters!

Wednesday, June 10, 2015

WIP Wednesday

 I only have a few minutes, so I'll quickly report on three finishes this week.

These fabric boxes will be filled with graduation gifts for my friend's daughter and her friends. If you haven't tried making one yet, check out my tutorial here.


I stitched the label onto the graduation quilt today. Here's a peek at the back. Full reveal after it has been gifted.

And the liturgical stole is done, too. This design was actually plan B. More pics soon.


All deadlines have been met, so I can start sewing for fun soon. That's not to say that these projects weren't fun, but you know what I mean.

http://www.freshlypieced.com/

Tuesday, February 4, 2014

Be Mine

 This big heart wall hanging was my project for the 2nd Annual Super Bowl Sunday Craft-a-thon, hosted by a friend of mine on Facebook. It looks great in the snow, but I'm really getting tired of shoveling!


Photos of Dear Stella's Big Love were popping up all over in the past few days. The pattern was designed by Nicole from Modern Handcraft. I pulled my favorite reds and pinks from my stash and found a package of Big Thangles on my cutting table. Sweet! 
 

The tutorial calls for 10" squares and makes a large lap quilt. I wanted a wall hanging, so 4.5" HST units were just right. Thangles are the best invention for quilters since the rotary cutter!


I added an extra row on the right side and bottom to push the heart off-center. I finished the top shortly before the game ended, just in time to watch Sherlock!
 

I got started layering and quilting on Monday. I had some issues with puckering with this concentric heart design. It's fine for what it is- a fun Valentine decoration for my home.
 

I found a sweet red on white calico for the back and used a tiny red dot for binding.
 

Be Mine
31" X 36"
Started 2/2/14
Completed 2/3/14

Tuesday, February 26, 2013

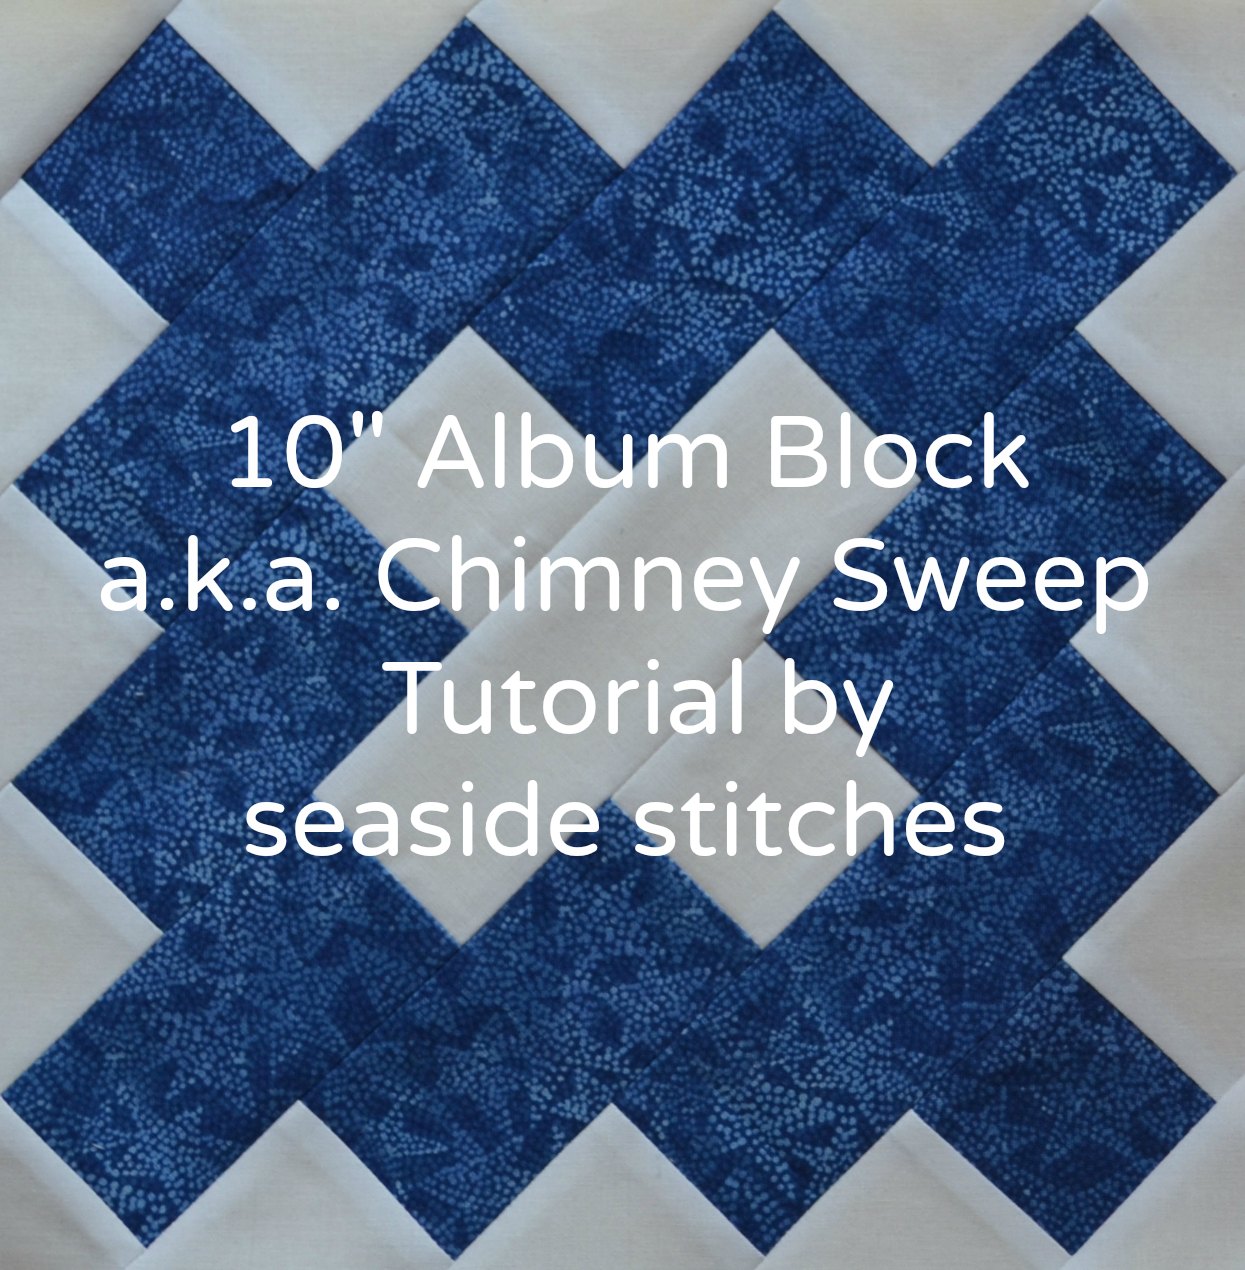
Album Block a.k.a. Chimney Sweep Block Tutorial


The Chimney Sweep/Album Signature Block is an old favorite. It is a two-color block which is really appealing to me. There is a chimney sweep signature quilt from 1840 in Sue Reich's book Quiltings, Frolicks & Bees, 100 Years of Signature Quilts. Karen and I met Sue at Jackie's show last Fall. I was especially inspired by the wartime signature quilts.

I chose this block for my month in the Modern Stash Bee, so I went searching for a pattern/tutorial to share with my hive mates. There is one that uses paper piecing, one for a 12" block, and one that came really close to what I was looking for, but has some typos. Hmm. Guess I'll have to write my own!

Using the basic information found at Patterns from History, I got started. My cutting instructions allow for larger triangles around the outside edges of the block. I'm not a perfect piecer, so I needed a little extra leeway. 

Cutting Instructions
(Note: Take care to accurately cut the 2-1/4" strips. If desired, you may trim down a jelly roll strip.)

White/background
A: (2) 2-1/2" squares, cut across one diagonal = (4) triangles
B: (3) 4" squares, cut across both diagonals = (12) triangles
C: (1) 2-1/4" X 5-3/4" rectangle
D: (2) 2-1/4" squares

Red
C: (2) 2-1/4" X 5-3/4" rectangles
D:  (2) 2-1/4" squares
E: (6) 2-1/4" X 4" rectangles


 Lay out the pieces as indicated below.


 Start piecing the rows. I started in the bottom right corner.
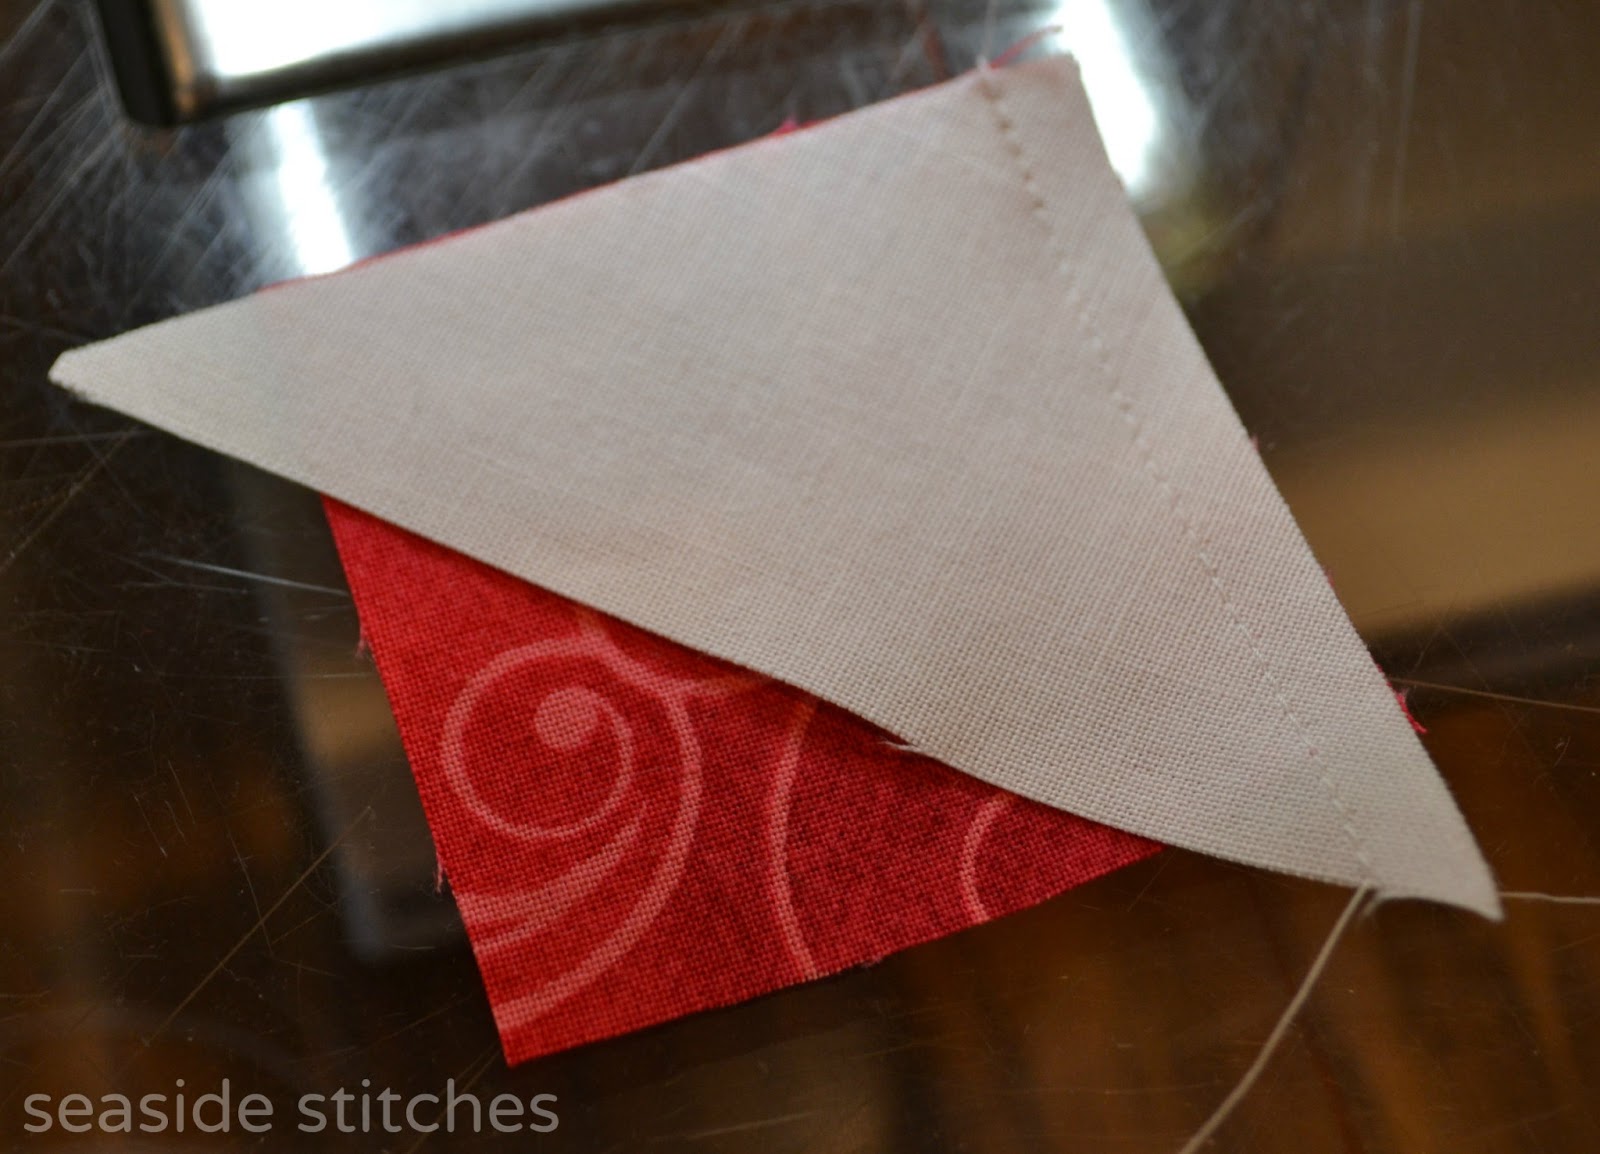
Place a white B triangle on top of a red D square (right sides together if not using a solid), matching one corner. The 45 degree corners of the triangle will be hanging off the square. That's OK. That's the extra leeway I mentioned earlier.


 Stitch 1/4" seam.


 Press away from the red. 


 Repeat with the B triangle on the other end of the row. Press.


If you'd like to neaten things up a bit, trim off those little wings, even with the bottom of the red square.

 To add the white A triangle in the corner, fold and finger press to mark the center of the red square and the center of the white triangle. I stuck a pin in the red so you could see it.


 Match up the edges and centers and stitch. Press.


 Repeat to stitch each row.
You can see how I pressed each row out from the enter.


 Stitch the rows to each other, matching the centers. There are no seams to match up!


On the back, you can see that I pressed the row seams open for a flatter block. Do what works for you.


Trim the block down to 10-1/2" square. You might be able to see that there are spots where there wasn't much to trim.


All trimmed and ready for the dance!

I'm asking the girls in my hive to make one blue block and one red block that I will alternate in the quilt. I'm planning to finish the quilt for my son Pete and present it to him at his Marine Corps recruit training graduation in December. If he's not too embarrassed by me, maybe his platoon buddies and drill instructor can sign it. I'm tearing up just thinking about it! Edit: See the completed quilt here!


This is really a fantastic block. It goes together quickly and makes a striking quilt. Please let me know if you give it a try. 

Enjoy!

Monday, December 10, 2012

Catch-up Monday

 It's been so long since I've done a real blog post, I feel like I need to catch up before I can move forward. Please bear with me!

I finished two small quilts on Veteran's Day. I'm really happy to be enjoying both of them this Christmas.

Quilt #1 is the Red & White quilt from Sew Many Ways' red & white charm swap. It's living on the back of the couch, and I've cuddled up with it a few times already. It doesn't have a cute name yet. Any suggestions?


Quilt #2 was a Pat Sloan quilt along that started with a charm pack, and is now hanging on the kitchen wall. I call this one Charming Christmas.


Debbie convinced me to try making donuts, so when I saw a donut pan for 50% off online somewhere, I had to buy it! They were yummy, but really just donut-shaped muffins.  I'll need to try again.


 I was taking pics of something else and spied this little Dresden ornament that my mother made many years ago. Cute, huh?


It's hanging on our very first artificial tree that we picked out at Home Depot on Black Friday. I always used to take pics of the kids at the tree farm, standing next to the tree we had chosen, so I felt like I had to continue the tradition!

Pete turned 17 last week and immediately enlisted in the United States Marine Corps! We are so proud of him for making this commitment to serve our country. His birthday gift from his recruiter was the 19-page SF-86 form!

In this "Only in Rhode Island" story, Pete and his friend, Ryan, met James Woods backstage at a Dr. John concert. The kids mostly know him from his voice role on Family Guy. 

"Oo! Piece of candy!"
 I'm not sure if I've mentioned that I'm on Threadbias now. You can follow me here. I was motivated to finish those two quilts because I joined a UFO group. Thank you, Threadbias friends!

Monday, September 17, 2012

Weekend Update

 I think I'm a topper. I love piecing quilt tops.  It's the finishing that I have a hard time with!

The red & white top  that I started on Friday was completed on Sunday night. It will be added to my pile o' tops.


I am really happy with the pattern. I think it highlights the red charms quite nicely.  I used up almost every charm that I received in the swap. After the center was pieced, I decided the "star" points needed to continue into the border to complete the pattern.  I like the way it turned out, except it left me with a stray triangle!  I thought about removing it, but my new design consultant thinks it would leave too big of a white space.


I took a break from sewing to attend and volunteer at the South County Museum quilt show. The main exhibit hall is in this beautiful old building.


Our Girl Scout quilt was hanging proudly from the rafters.
 

This was my favorite view of the day: my friend Sid taking photos of the show on her new iPad!
 
 
All in all, a successful weekend!

Saturday, September 15, 2012

Sewing with Karen

 Yesterday, I spent the day at Karen's house.  If you haven't visited Sew Many Ways, go now! Karen is an organizational master! I'm so lucky to know her and call her my friend.

sorry for all the blurry cell phone pics

For our first sew in, I decided to dig out the red and white charms from the swap Karen organized in June 2011.  I chose the setting last fall, inspired by this quilt.  The white with tiny red dots is a Moda from my LQS, and the solid red is Kona Chinese Red.


At Karen's house, I was able to get all the setting squares done and laid out the top on her dining room table. I forgot to bring a flannel-backed vinyl tablecloth to roll it up in, so I had to stack the rows to bring home. I started sewing the rows together last night.
 

Karen was inspired to dig out some swap blocks of her own. These are Civil War reproduction signature blocks. I won't tell you how long they have been ripening in her stash!


We have a date next week to visit our friend Jackie at her Things with Wings quilt show!

Thursday, February 9, 2012

Do you know me?

Does anyone recognize this quilt?  I found the photo on someone's Flickr album of the 2011 Sisters Outdoor Quilt Show.  I'm trying to track down the quilt maker and/or the designer.


We're considering using this pattern for our guild raffle quilt, but in a cool palette.  Maybe batiks.  At the very least, I want to give credit where credit is due for the inspiration.

I love this quilt on so many levels.  The small paper pieced stars, the larger off-kilter stars, the HSTs that frame the stars, the positive/negative effect, the two-color-but-scrappy look, the piano key border.  It all adds up to a modern quilt with a traditional vibe.  LOVE!

So, if you know anything about this beauty, please leave a comment or email me at tinastitches (at) gmail (dot) com.  Thanks!

** Many thanks to Sinta and Elke!  This is a Buggy Barn pattern called Going in Circles from their book Certifiably Crazy.  I'm buying the book now! **

Wednesday, April 13, 2011

Red and White Inspiration

I was so inspired by the Infinite Variety exhibit of red & white quilts, I had to issue a challenge to my guild! It wasn't an official challenge, but I am hoping some other quilters will be inspired to produce something for our guild show in October.

I always view quilts with the eye of a paper-piecer. So when I saw this quilt, I knew it could be paper-pieced and that I could even use Anita Grossman Solomon's technique of not cutting apart the sections. (I can't even tell you how much I love her for writing the book, Make It Simpler!)


Of course, I needed to make mine smaller! Each block is 2" square and the whole quilt measures 10.5" X 14.5". My family has been informed that this is NOT a place mat or a mug rug!


I machine quilted in the ditch, then I did a little bit of hand quilting in the white border.
Can you see the pin holes from the safety pins I used for pin-basting? That bugs me. They are the smaller pins, too. I've been trying to rub them out, but I can still see them. Do you have that problem?


Rather than using a sleeve for hanging, I added triangles to each corner, creating pockets. (Cut 4.5", folded on the diagonal, Line up raw edges in the corners of the quilt, stitch in the seam allowance after the binding is machine stitched on the front.) The label is a folded triangle stitched into the corner, too.


Cut a piece of wooden dowel or bamboo skewer just shorter than the length of the quilt and slip it into the pockets. If you cut 2 pieces, one for the width and one for the length, you have the option of hanging the quilt either horizontally or vertically. You will probably want to smooth the ends of the dowel with some sand paper.


It is now easy to hang the dowel on a single nail or hook.
I need to do some research to locate the name of this pattern.

Anita emailed to tell me the block is called Turkey Giblets. Sure enough, here it is on Quilter's Cache. Thanks, Anita!


Here are a couple more quilts I'd like to try to "reproduce."

I love these pointy points and zig zag border!


Pieced hexagons! Oh my!


Is anyone interested in a tutorial with the paper-piecing pattern? I'll need to figure out how to post a PDF to the blog.