Tuesday, November 24, 2020

Live EPP Class on Zoom!

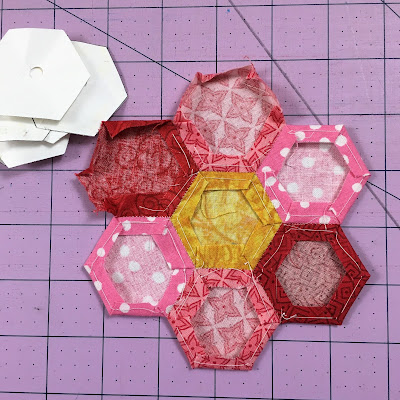
Have some fabric scraps, needle and thread? Join me for a Live EPP Ornament class next Wednesday! I'll be doing live demos, providing step-by-step instruction and answering your questions throughout the 2 hour class. Beginners are welcome, even if you didn't already know that EPP stands for English Paper Piecing.


You will need to print the templates onto a sheet of cover stock before class starts, so please plan accordingly. (I've heard that not everyone has a printer and a supply of card stock at home.)
 
You do not need to have your own Zoom account to participate.


Send me an email (tinastitches@gmail.com) to let me know you are interested and I'll send you a PayPal invoice for $15. After I receive your payment, I'll email you the supply list, template file and the link to the Zoom meeting.

These ornaments make great gifts! Choose some fabric that suits the recipient. The purple one was for my BFF and the blue flamingos was for my son's girlfriend.


Live EPP Ornament Class on Zoom
Wednesday,  December 2, 2020
7-9 pm Eastern (same as New York City)
$15
Class size is limited to 15 students
Instructor: Tina Craig 
Email Tina to register: tinastitches@gmail.com


Hope to see you soon!

Monday, November 9, 2020

Facing EPP Quilt with EPP

Let's say you've pieced together a top using English Paper Piecing and you have all these angular shapes around the edges. How will you finish those edges? You could certainly trim them and use a straight binding. Or you could create a facing with more EPP shapes! Here's how...

1. Press your top well, especially around the edges. Remove all of the papers.


2. Quilt as desired. Don't stitch into the seam allowances around the outside edges.


3. Trim away the batting and backing a little bit smaller than the finished edge.


4. Create a ring of EPP shapes that mirrors the quilt top. That's your facing.

 
5. Place the facing right sides together with the quilt top.
 
 
6. Whipstitch all the way around the outside edges.


 7. Remove the papers from the facing.


8. Pull the quilt top through the hole in the middle of the facing and flip the facing to the back side. Carefully poke out the corners and smooth the batting and backing into the corners and along the edges.
 
 
9. Stitch down the inside edges of the facing to the back of the quilt.
 

10. Done!


I used this method to finish my "Our Lady" quilt. I had purchased a panel with four images of Our Lady of Guadalupe. Inspired by Brigitte Giblin's work, I framed each of the images with fussy cut EPP roses. I didn't want to chop off the edges, so I used an EPP facing.


For other options for finishing EPP, please refer to Geta's post.