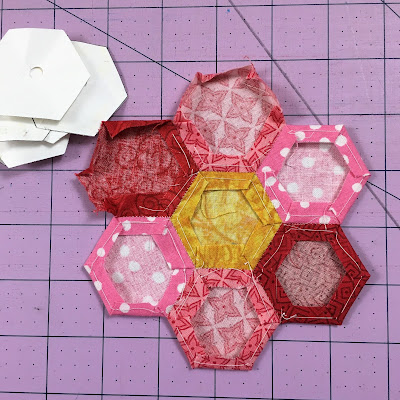
Let's say you've pieced together a top using English Paper Piecing and you have all these angular shapes around the edges. How will you finish those edges? You could certainly trim them and use a straight binding. Or you could create a facing with more EPP shapes! Here's how...
1. Press your top well, especially around the edges. Remove all of the papers.
2. Quilt as desired. Don't stitch into the seam allowances around the outside edges.
3. Trim away the batting and backing a little bit smaller than the finished edge.
4. Create a ring of EPP shapes that mirrors the quilt top. That's your facing.

10. Done!
I used this method to finish my "Our Lady" quilt. I had purchased a panel with four images of Our Lady of Guadalupe. Inspired by Brigitte Giblin's work, I framed each of the images with fussy cut EPP roses. I didn't want to chop off the edges, so I used an EPP facing.
For other options for finishing EPP, please refer to Geta's post.


I love your "Our Lady" quilt...I have the blue version of that print and have been waiting to see how i could use it without cutting into the ovals...I think yours came out beautifully nice work hugs, Julierose
ReplyDelete